How to Make Brain-Tanned Buckskin

How to Braintan a Hair-off Hide
- Soak in an ash-water solution of three parts water to one part clean wood ash for 3 days or until the hair slips. The type of wood does not matter but the ash should be clean and without too many lumps in it. You want to be able to mix it in well. Do not use ash from charcoal briquettes, only natural wood. You will know that the mixture is strong enough if it feels slippery when you rub your fingers together. Make sure that your hide is fully submerged. It may take just a day or two for the hair to begin to slip if the weather is warm, the hide is just beginning to go bad, your solution is extra strong etc. It may take up to 4 or more days for it to happen, so be patient. You can scrape it even if the hair is not totally slipping but it will make it more difficult and time consuming. You will know that it is ready if you pull on a chunk of hair and it comes off the hide easily. Be sure to check it every day and do not leave it in the solution for too long. It is essentially lye and will eventually dissolve your whole hide if left for long enough.
- Scrape off all hair and grain. Once the hair begins to slip, it is time to start scraping the hide. You will need a smooth surface to scrape on. A log with no knots and all of the bark removed is ideal. You want your scraping bench to be as smooth as possible as any indents could cause you to dig too deep into the hide with the scraper and cut a hole in it. You should avoid getting holes as much as humanly possible as they make it harder throughout the whole process. Dont beat yourself up too much if you do, though, they can be dealt with, it just takes a bit more time, more on that later.
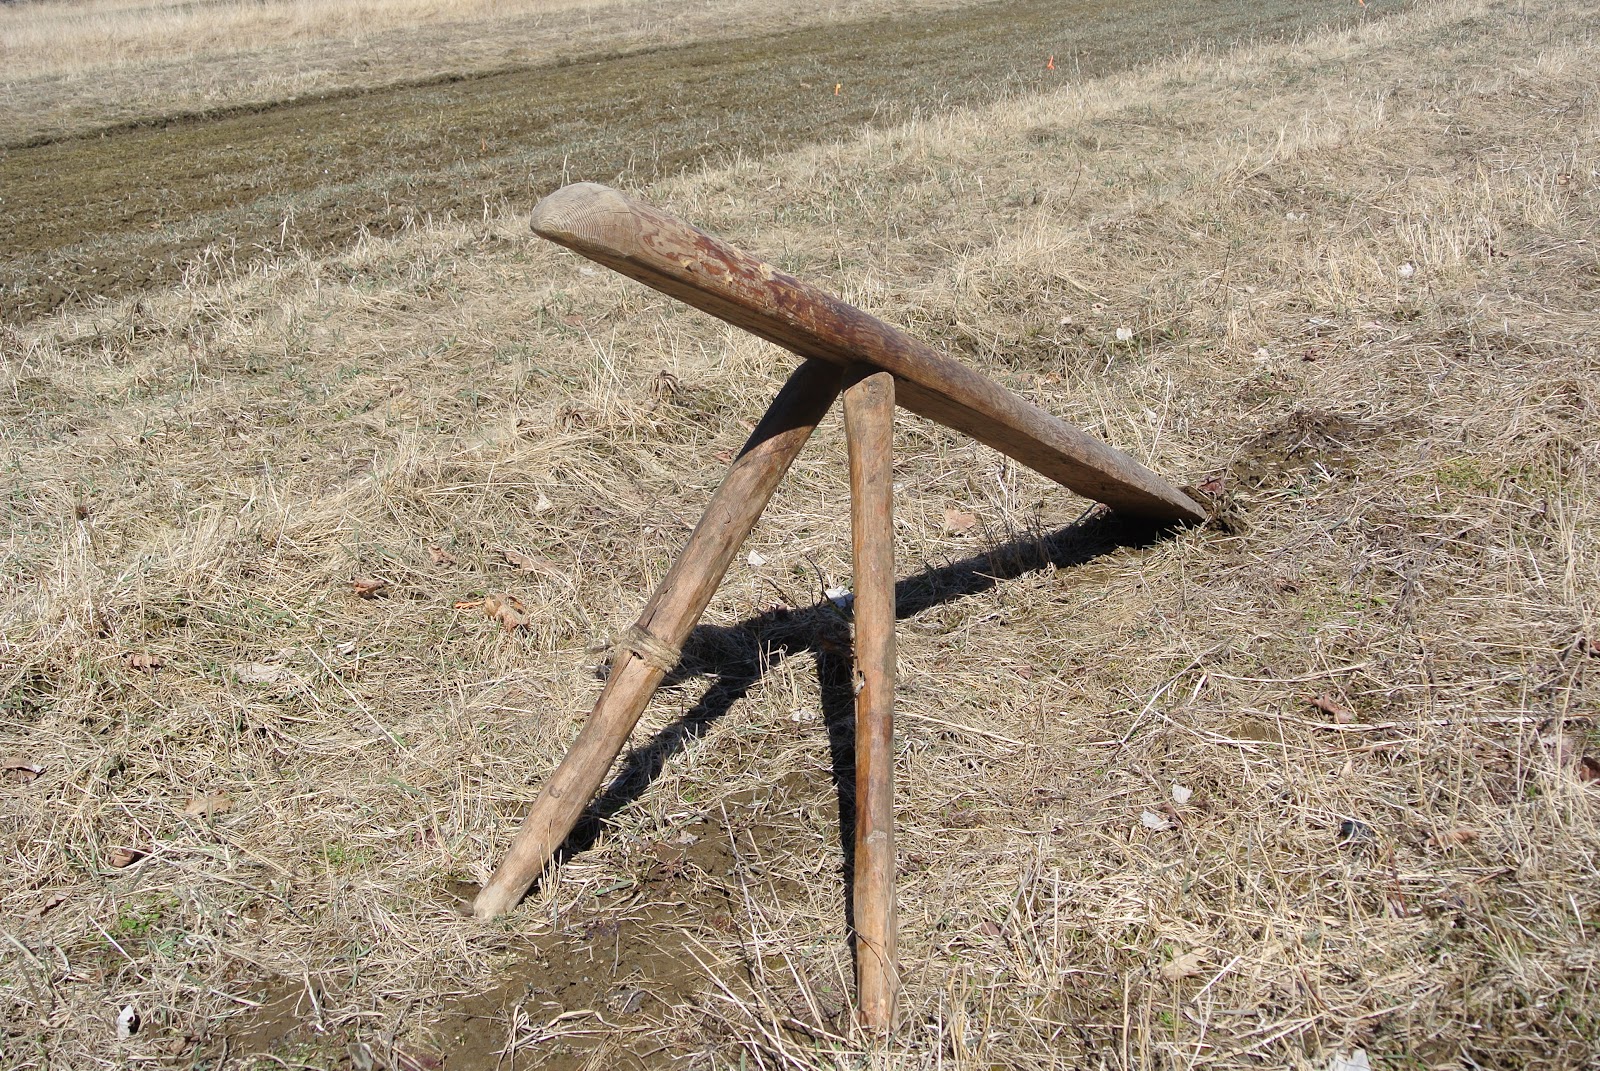
This is the scraping bench I use. The legs fit into holes and are removable; there are no screws or nails as this would disturb the smooth board. It also makes it so that I can adjust the height. You want it to go to just below your belly button while your working. I do sometimes have to take a draw knife and even it out to keep it perfectly smooth during the process.
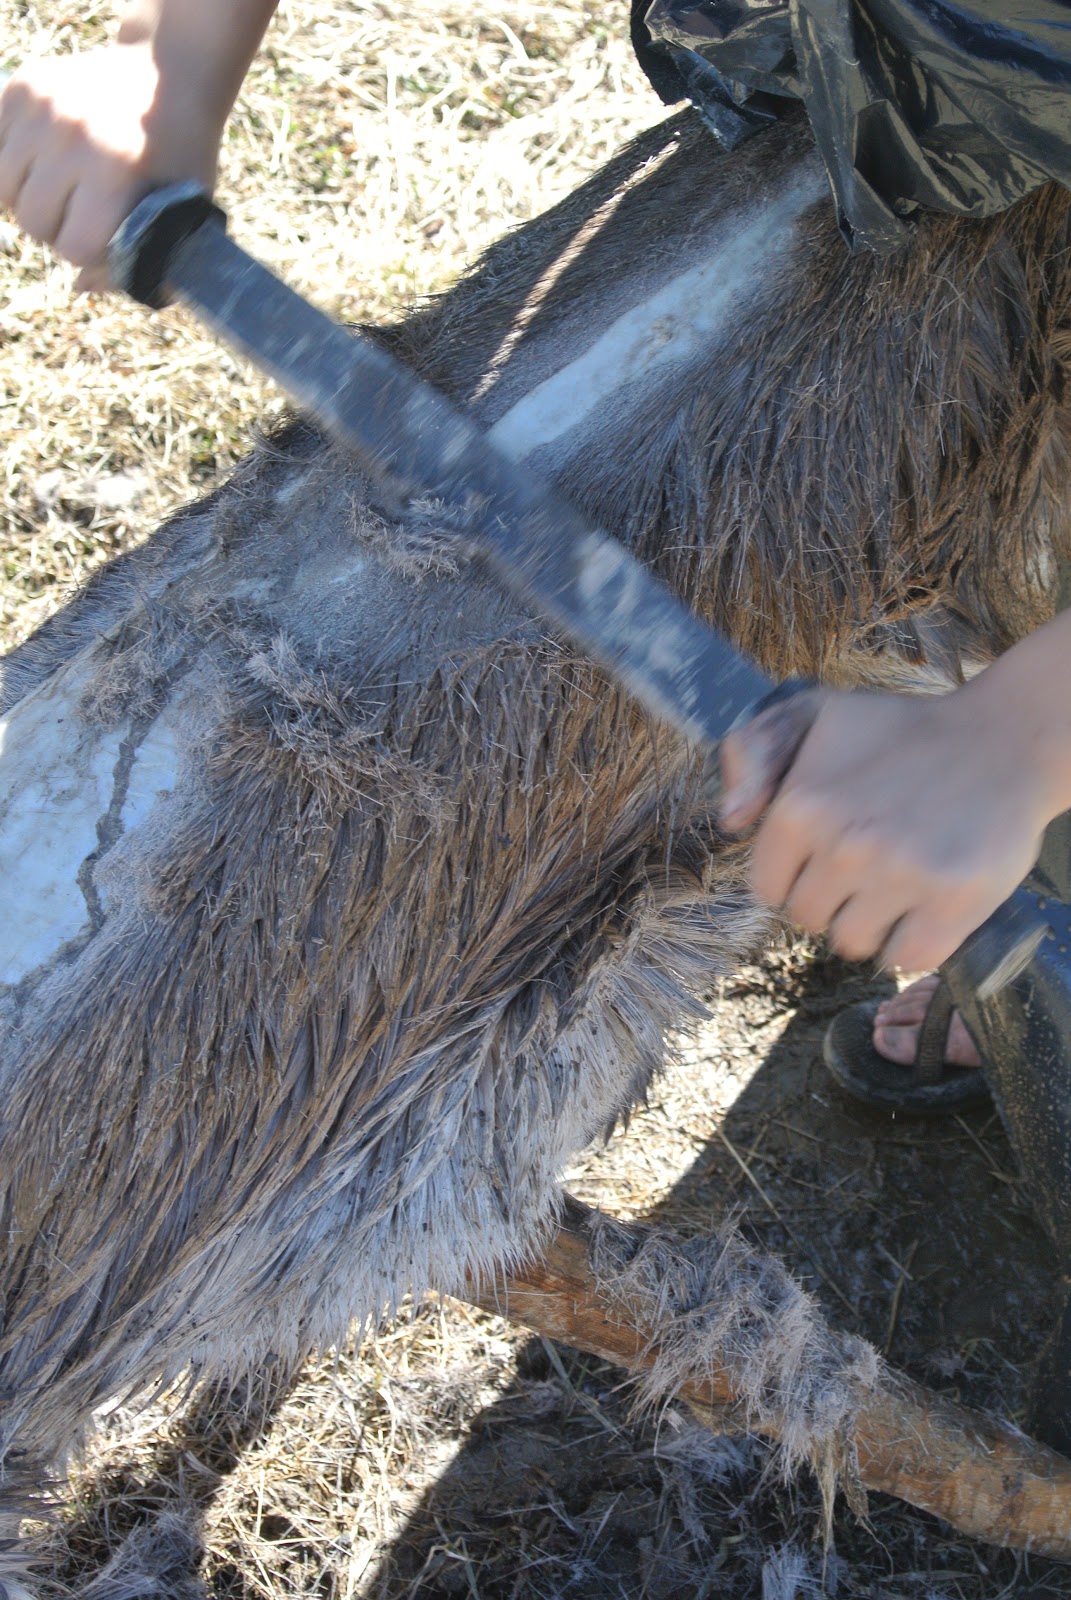
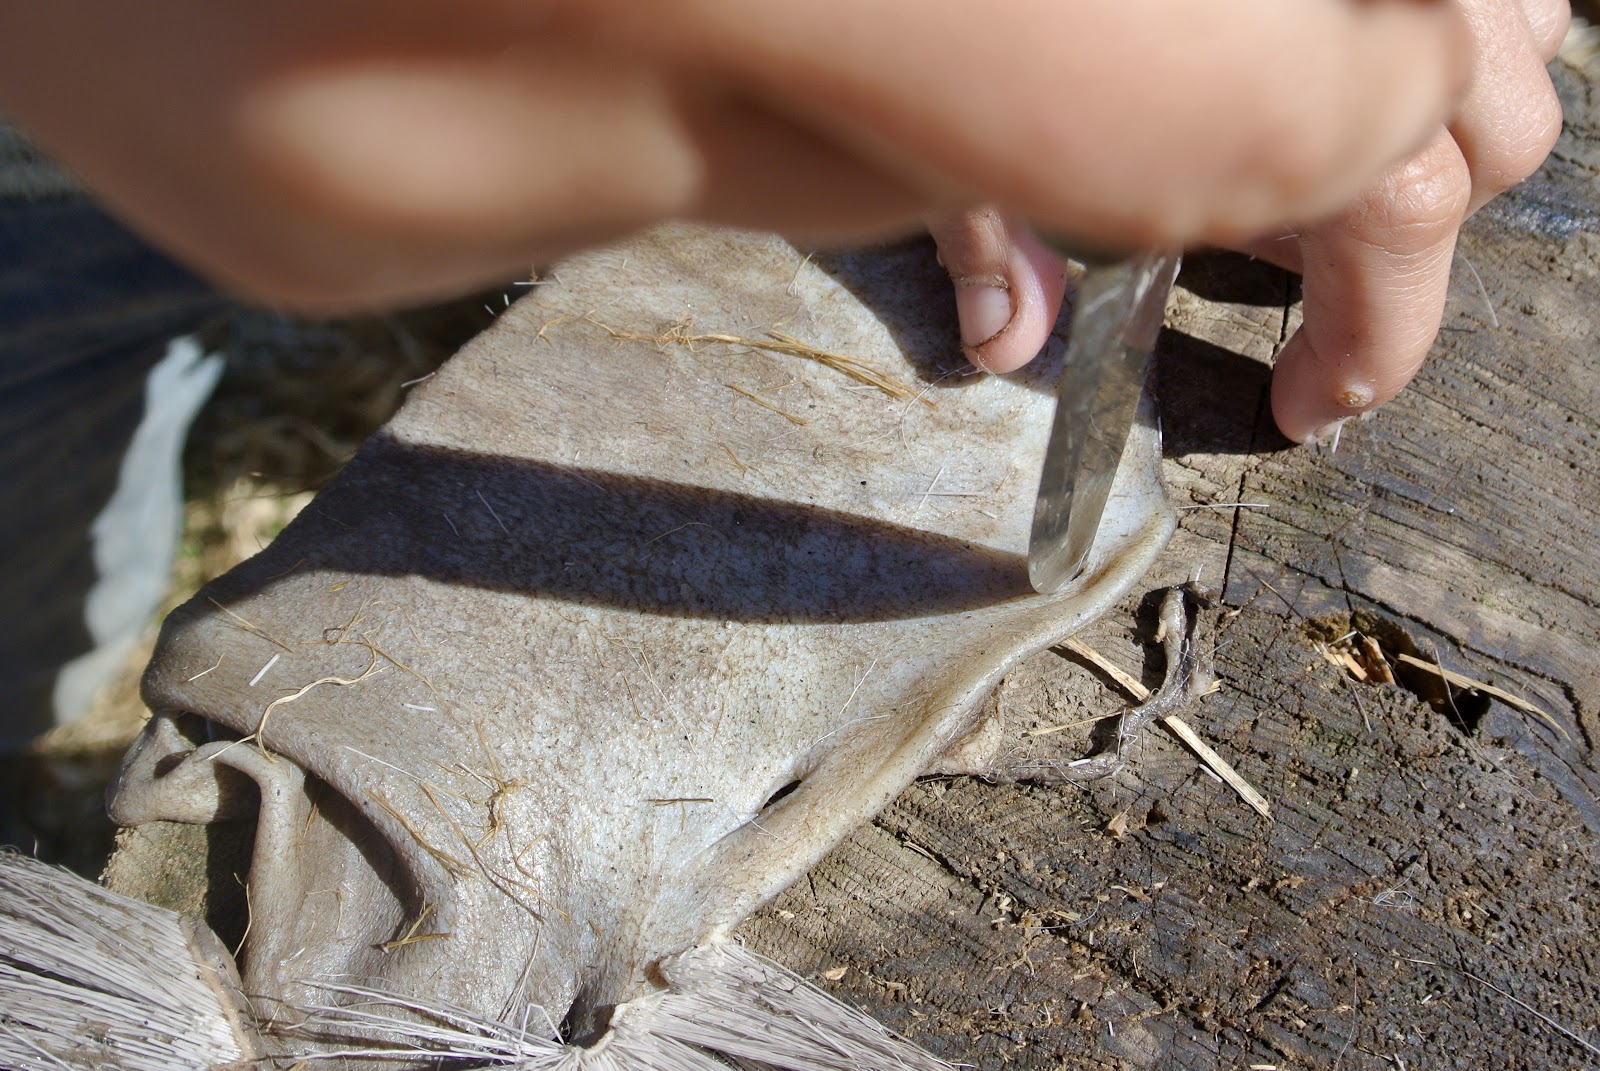
You may want to use gloves at this point to avoid getting the ash solution on your hands as it may cause irritation to some people. To scrape off the hair, place the hide over the bench with a few inches sticking over the top end. Push your body against the bench so that you can hold the hide in place while leaving your hands free to work. You want the hair going down so that you go with the grain, not against it, while scraping. Using a hide scraper, a dull flat metal bar, push down on the hide and scrape away from you. It may take a couple of strokes to reach the skin, but once you get it started it should be easy to scrape the hair off. Start at the top of the hide near the neck and scrape all the way down to the rear before rotating the hide and making another, overlapping strip to the right or left. There is a layer under the hair called the grain. Be sure to get this off as well, do not just shave off the hair. Any place with grain left on will not tan properly.
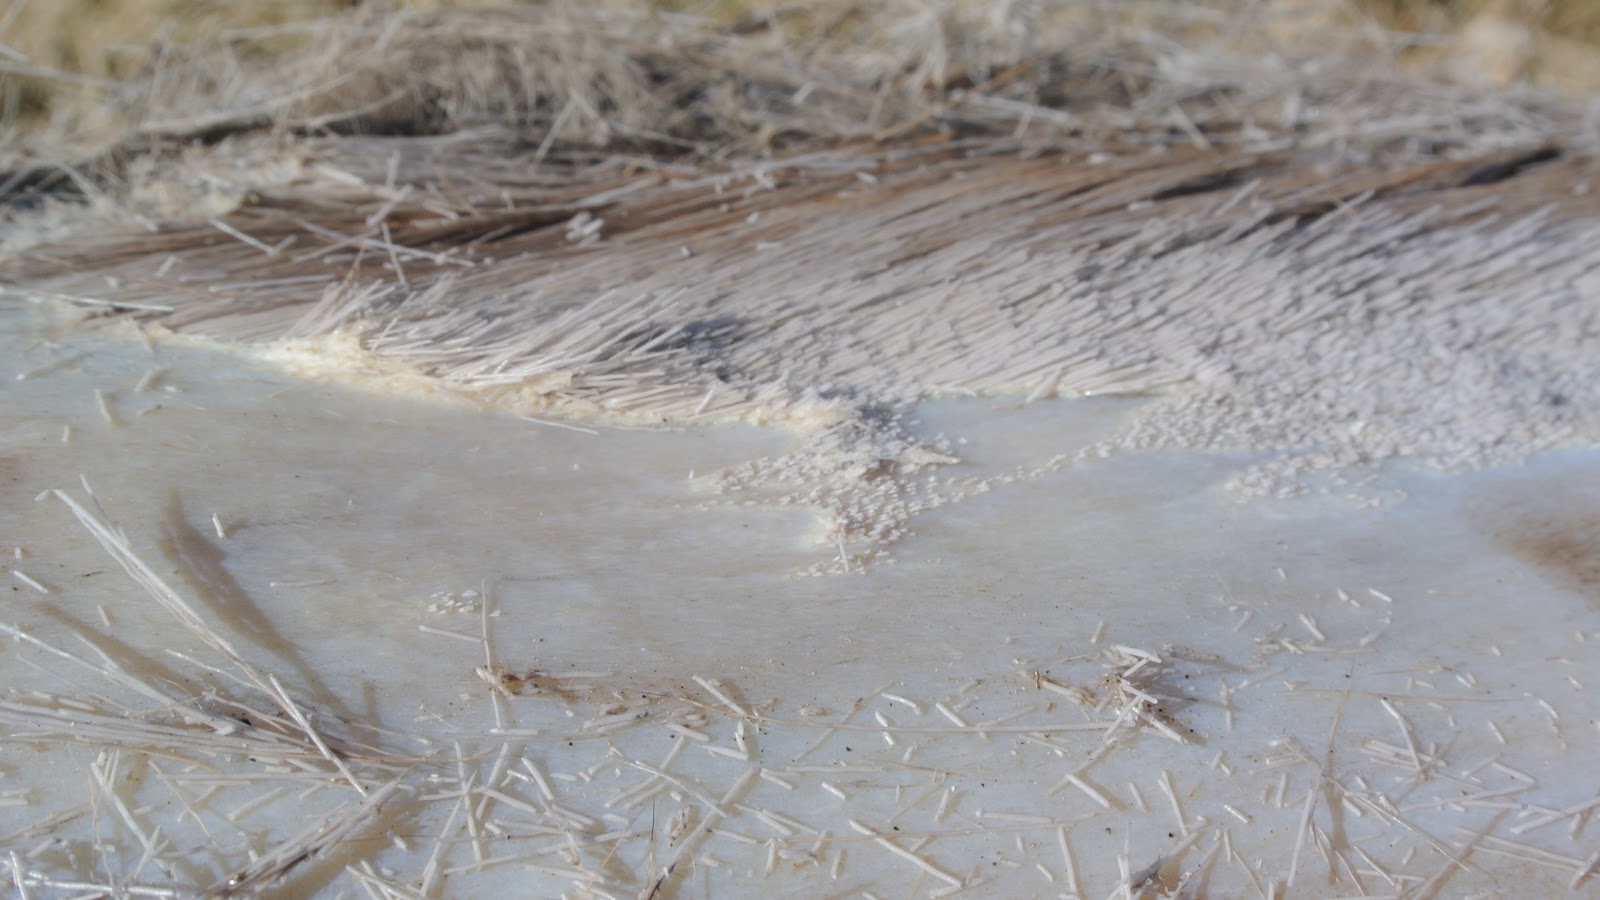
Notice in the picture below that some stubble is left, this shows that the grain has not been completely removed on that section of the hide.
Continue this process until all of the hair is removed. Keep in mind that it gets difficult to do around the edges and that you simply have to endure. This may take several hours to do a large deer hide like this depending on how much the hair is slipping.
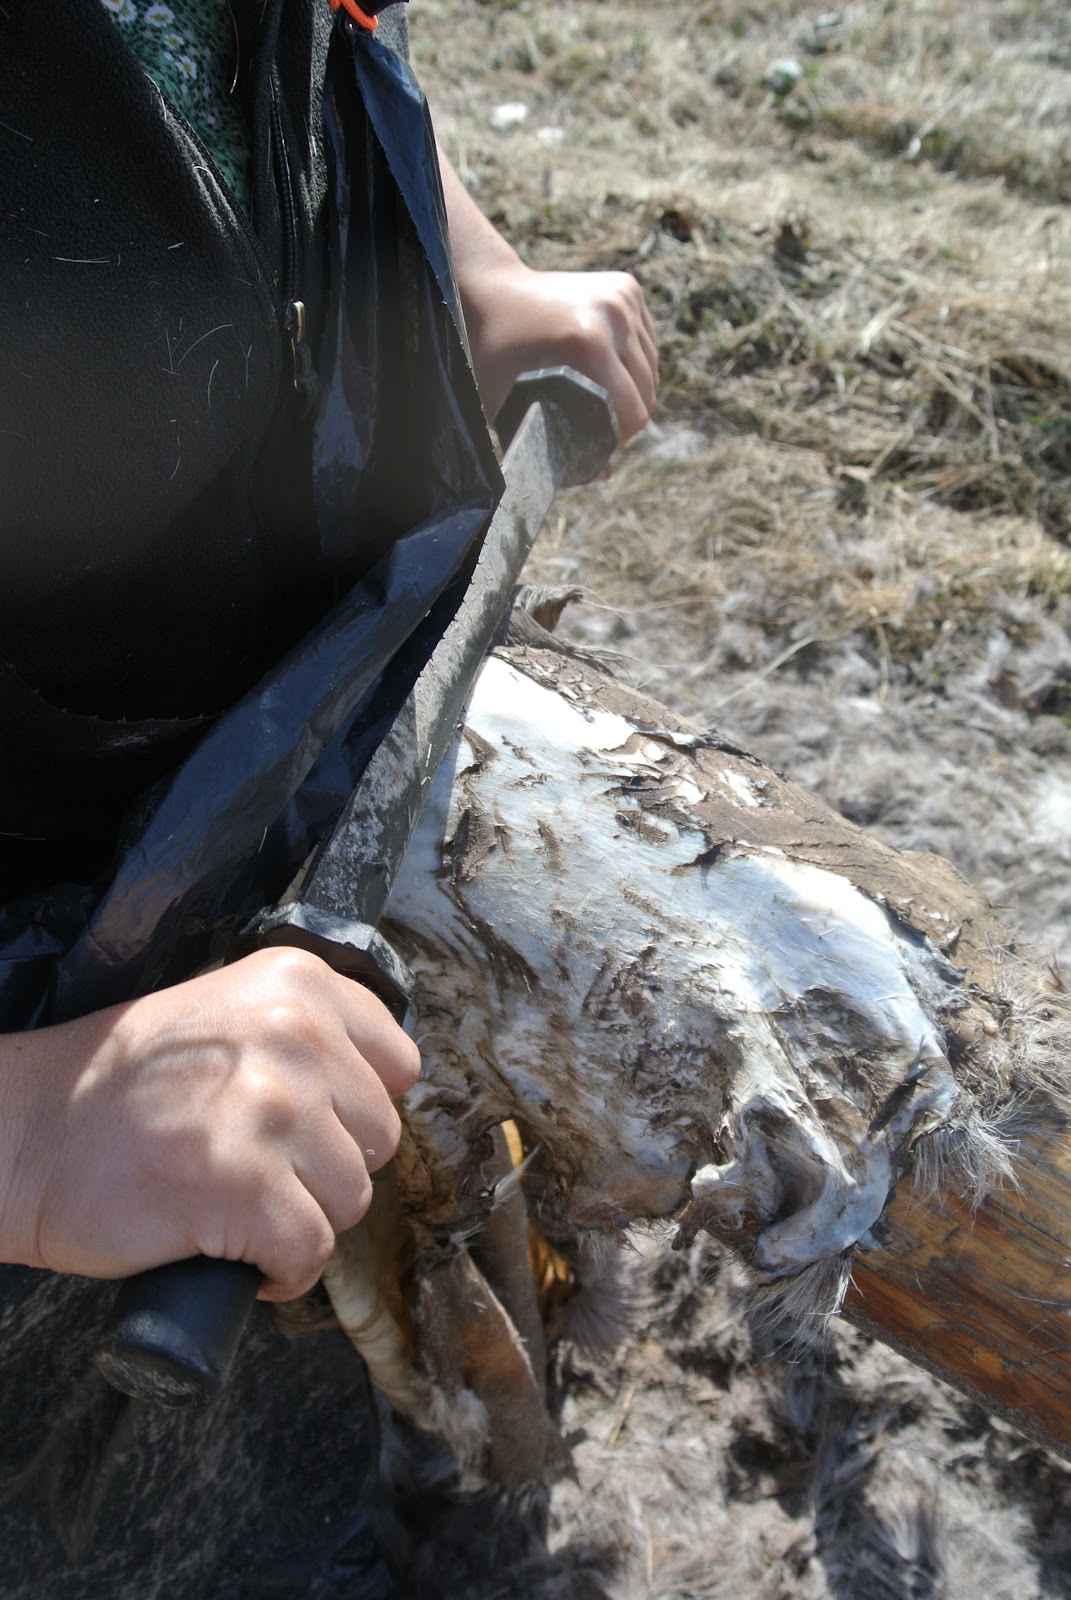
3. Neutralize with vinegar and scrape off the membrane. Once all of the hair has been removed, pour vinegar over the hide to neutralize it. At this point, you do not have to use gloves anymore if you were using them for the last step as there is no more risk of causing skin irritation from the lye. Now, you will have to flip the hide over and do the same thing on the other side. The only difference is that you are not removing the membrane and any flesh or fat that may be remaining, not the hair and grain. The membrane is a very thin layer on the inside of the skin that can be difficult to see. The skin underneath should be nice and white and dry much more quickly after the membrane is removed, it will not be as slippery as the membrane. Knowing if you have removed all of the membrane or not is something that can only be learned by practice, though, and you will quickly pick up what is membrane and what isn’t. It is very important not to scrape too hard during this step as it is easy to space out and make a hole in the hide. To avoid holes, be sure that your hide is always laying flat on the board; do not ever scrape over any part of the hide that is folded or wrinkled. Smooth it out before scraping.
It is very important to get all of the membrane off as any part left with it on may not tan properfly. One method to make sure get all of it is start start at the top and scrape a straight strip downward towards the rump of the animal, doing an overlapping strip to the left or right until you reach an edge, just like you did for scraping the hair.
- Soak in brain or egg solution overnight. Once all of the hair, grain, and membrane is removed it’s time to actually start tanning your hide! The tanning agent for this method is either brain or eggs. You can use the brain of that animal or of another. Each animal’s brain is large enough to tan its own hide. For a deer you can use one deer brain (or a larger one, such as a cow brain) or 6-12 eggs. You can get away with using just 6 eggs, but I sometimes use the whole dozen just to be sure. Whichever you use, mix it well with enough water to cover your hide. If you are worried about the safeness of using brain, you can blend it in water and bring to a boil before using. Just be sure that the mixture has cooled all of the way before using.
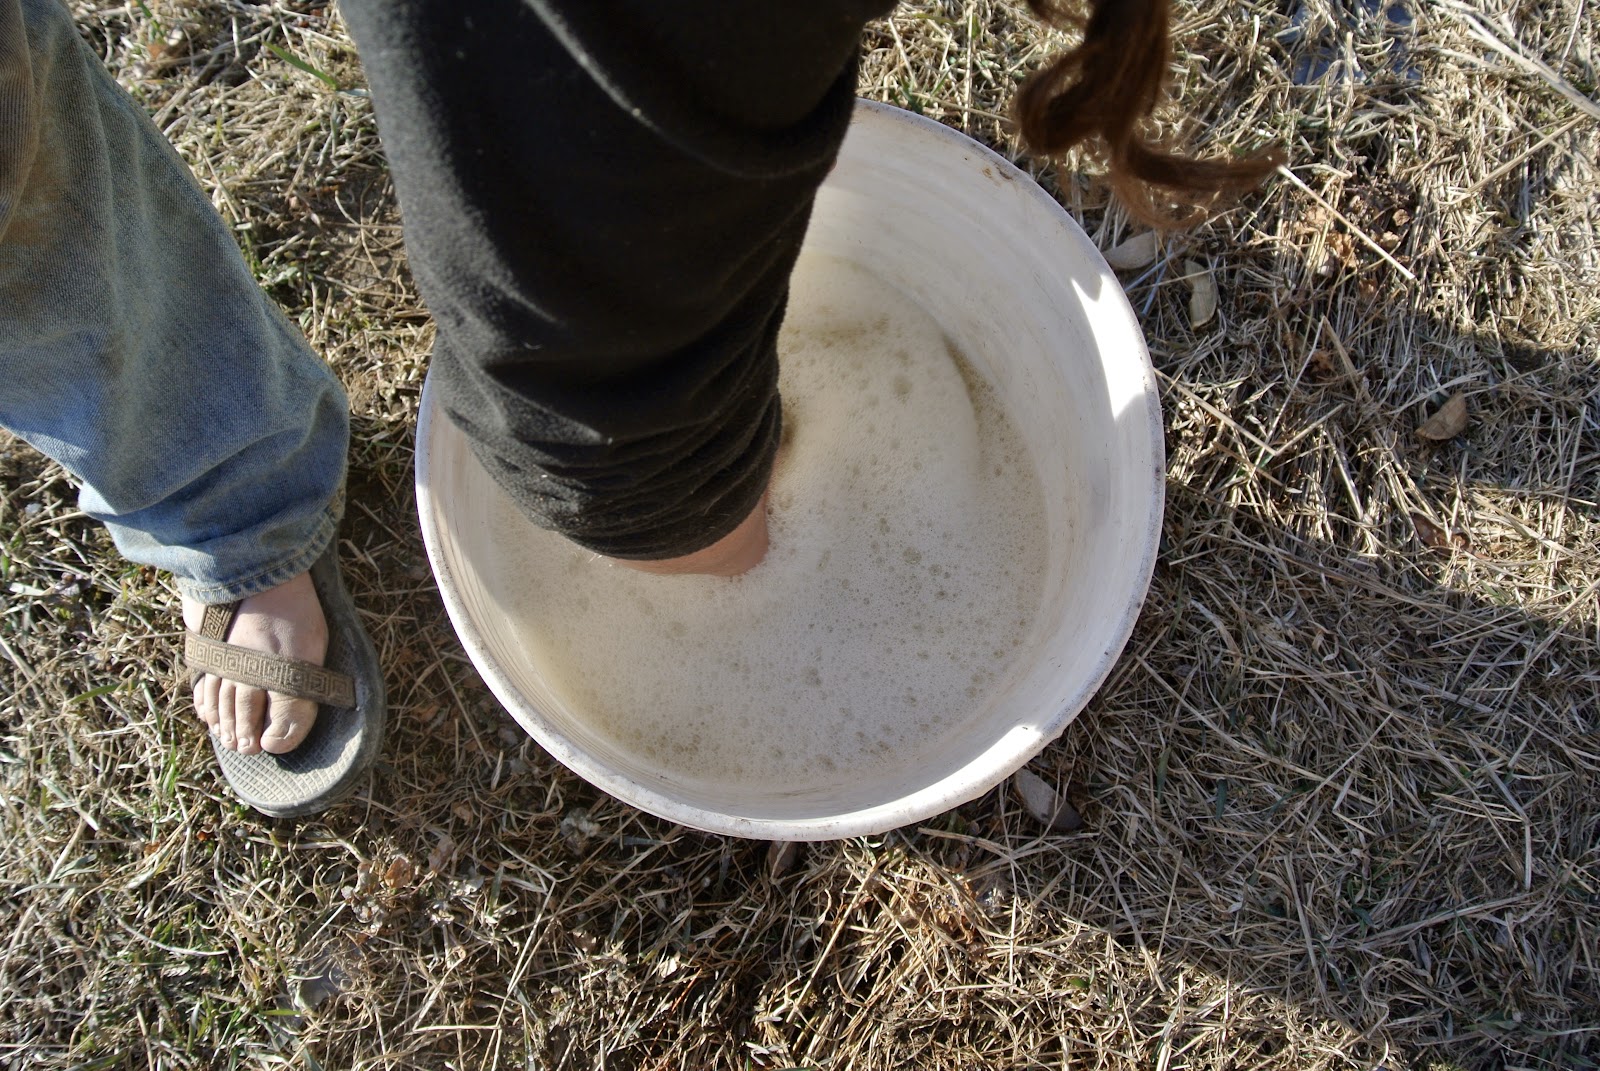
 Once properly mixed, add your hide(s) and work it in the water well for a couple of minutes, making sure that the solution gets worked into every part of the hide. Leave it in the solution overnight, making sure that every part of the hide remains fully submerged. When you take it out in the morning, it will be fully tanned and will not rot from here on out. If before this point you have to stop the process for any reason, make sure that your hide is kept wet and refrigerated until you can continue so that it does not rot.
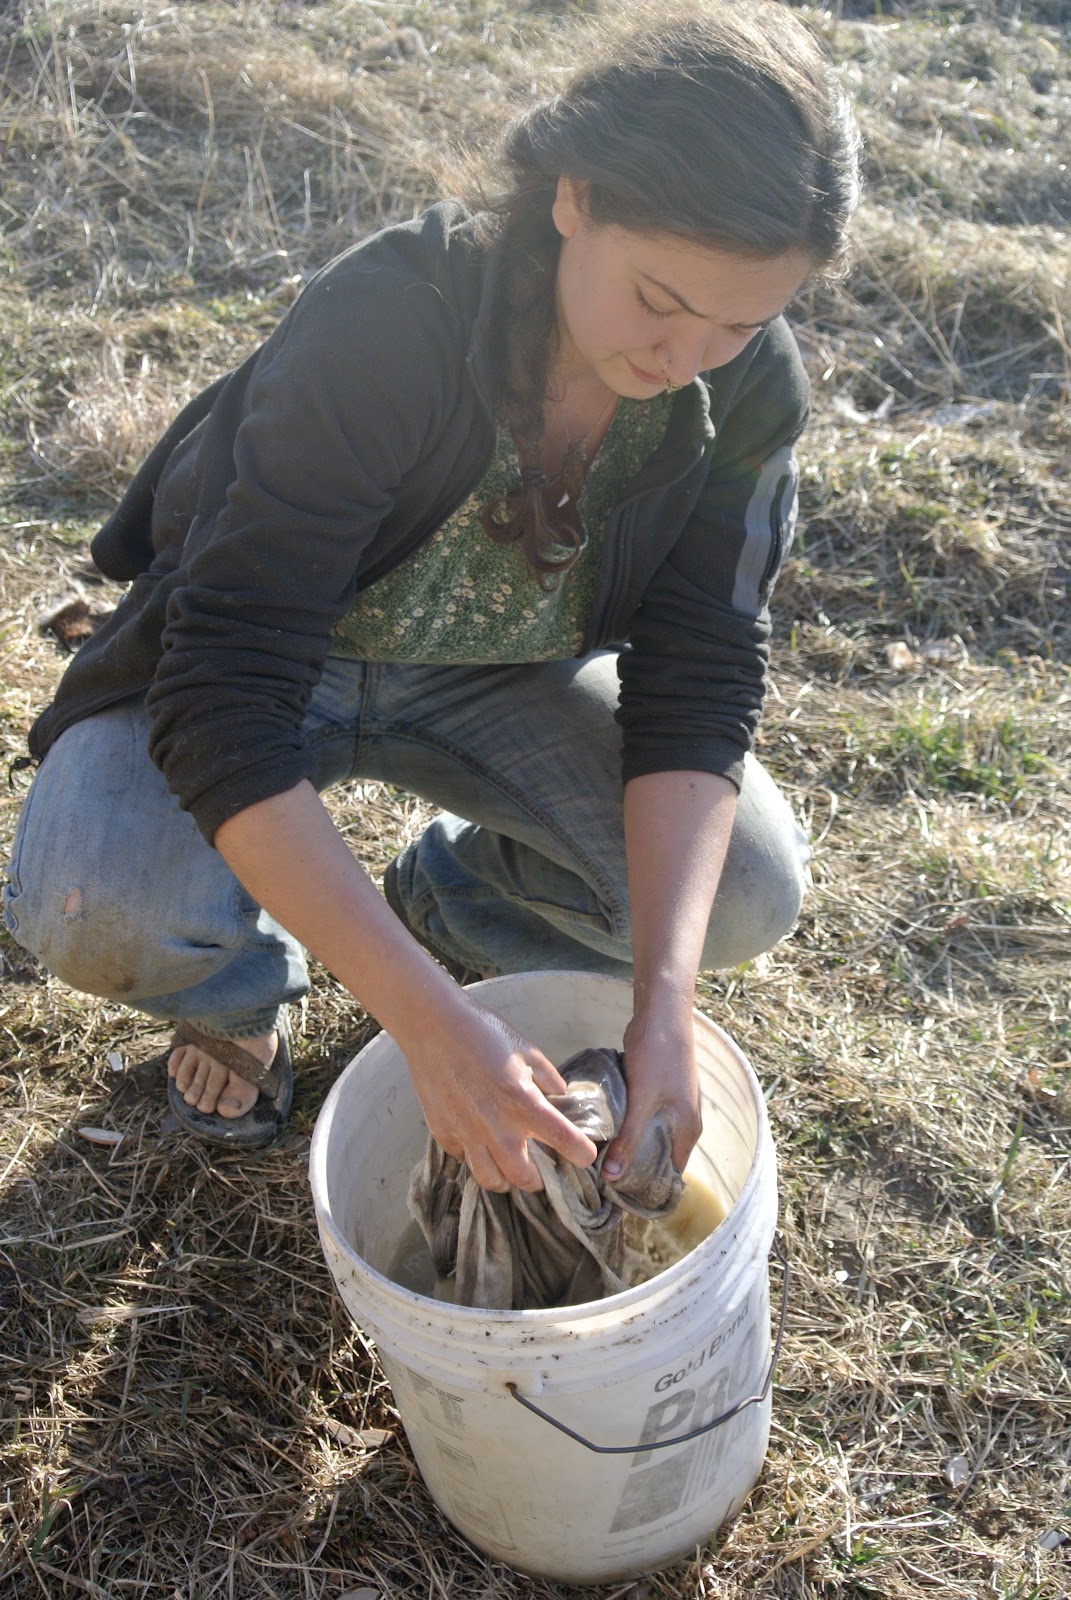
 - Wring out all of the liquid. In the morning, you will want to wring out as much moisture as you can from your hide. To do so, place it over a smooth ladder rung, rope, thick wire, tree limb, etc. with just a few inches hanging over one side and the majority of the hide on the other. Bring the long side around and place just a few inches of it over the rung so that there are just a few inches hanging over. Now your hide will form a circle with the two ends overlapping each other. Starting from one side rolling the hide over itself until you reach the middle, do the same from the other side. Now your hide will be like a long, wet, droopy donut.
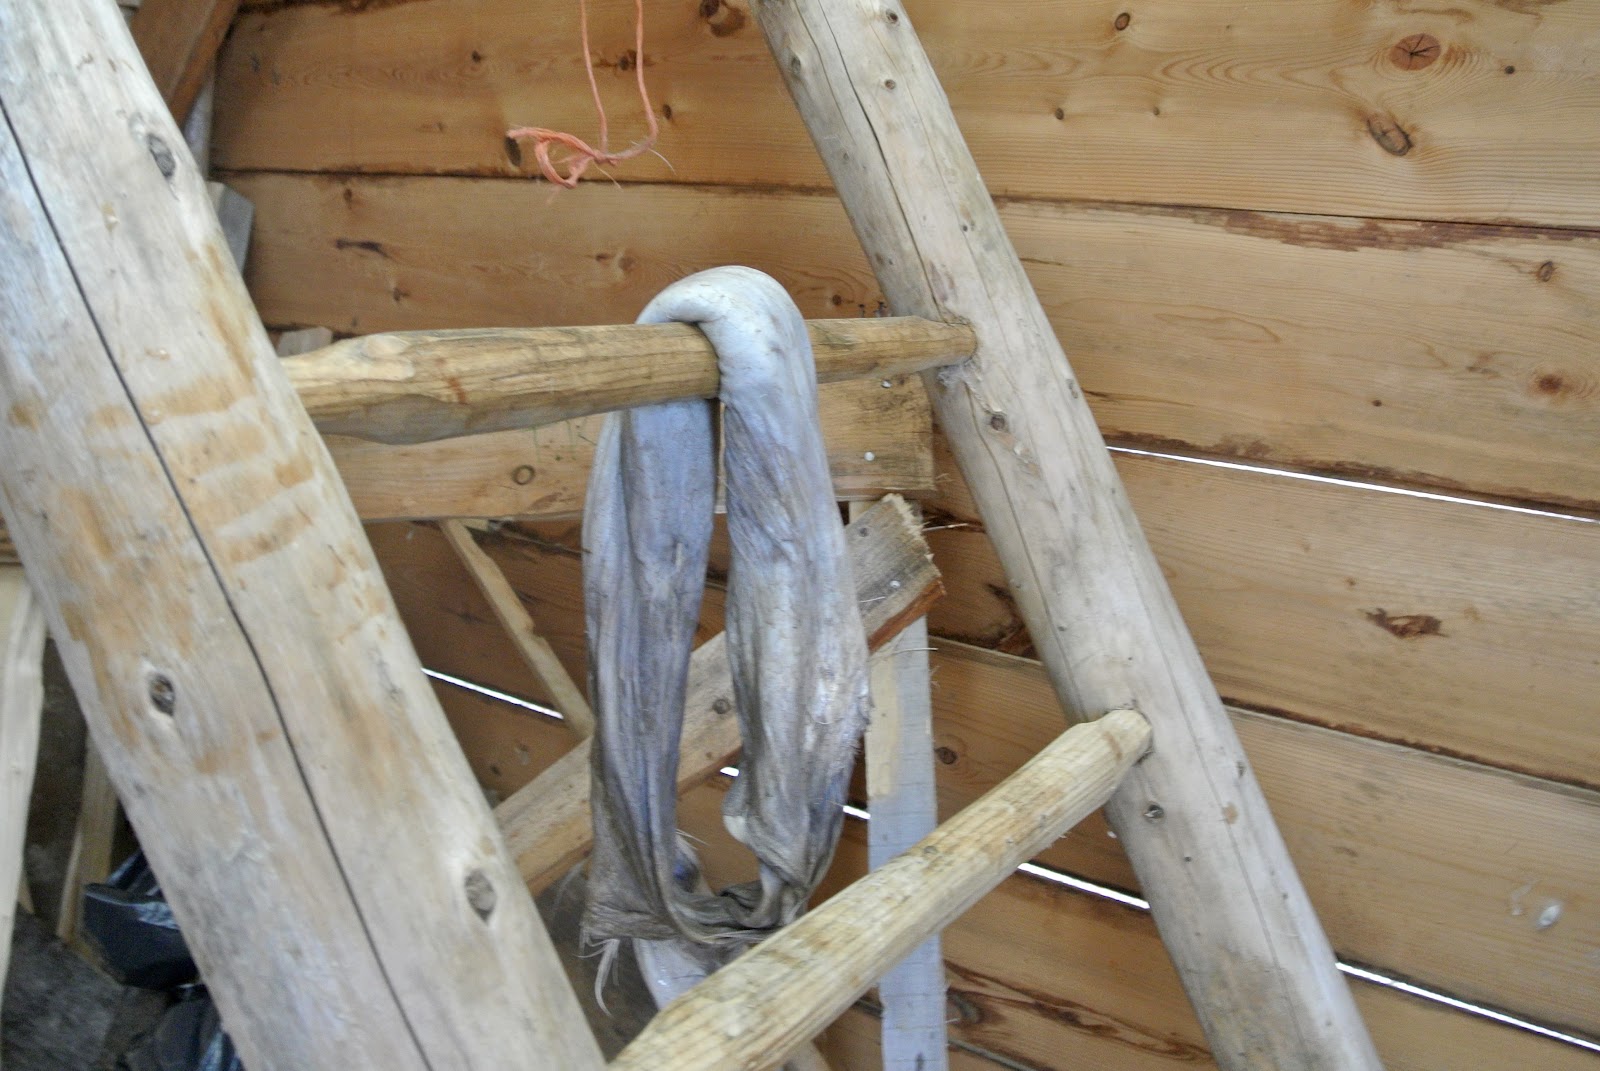
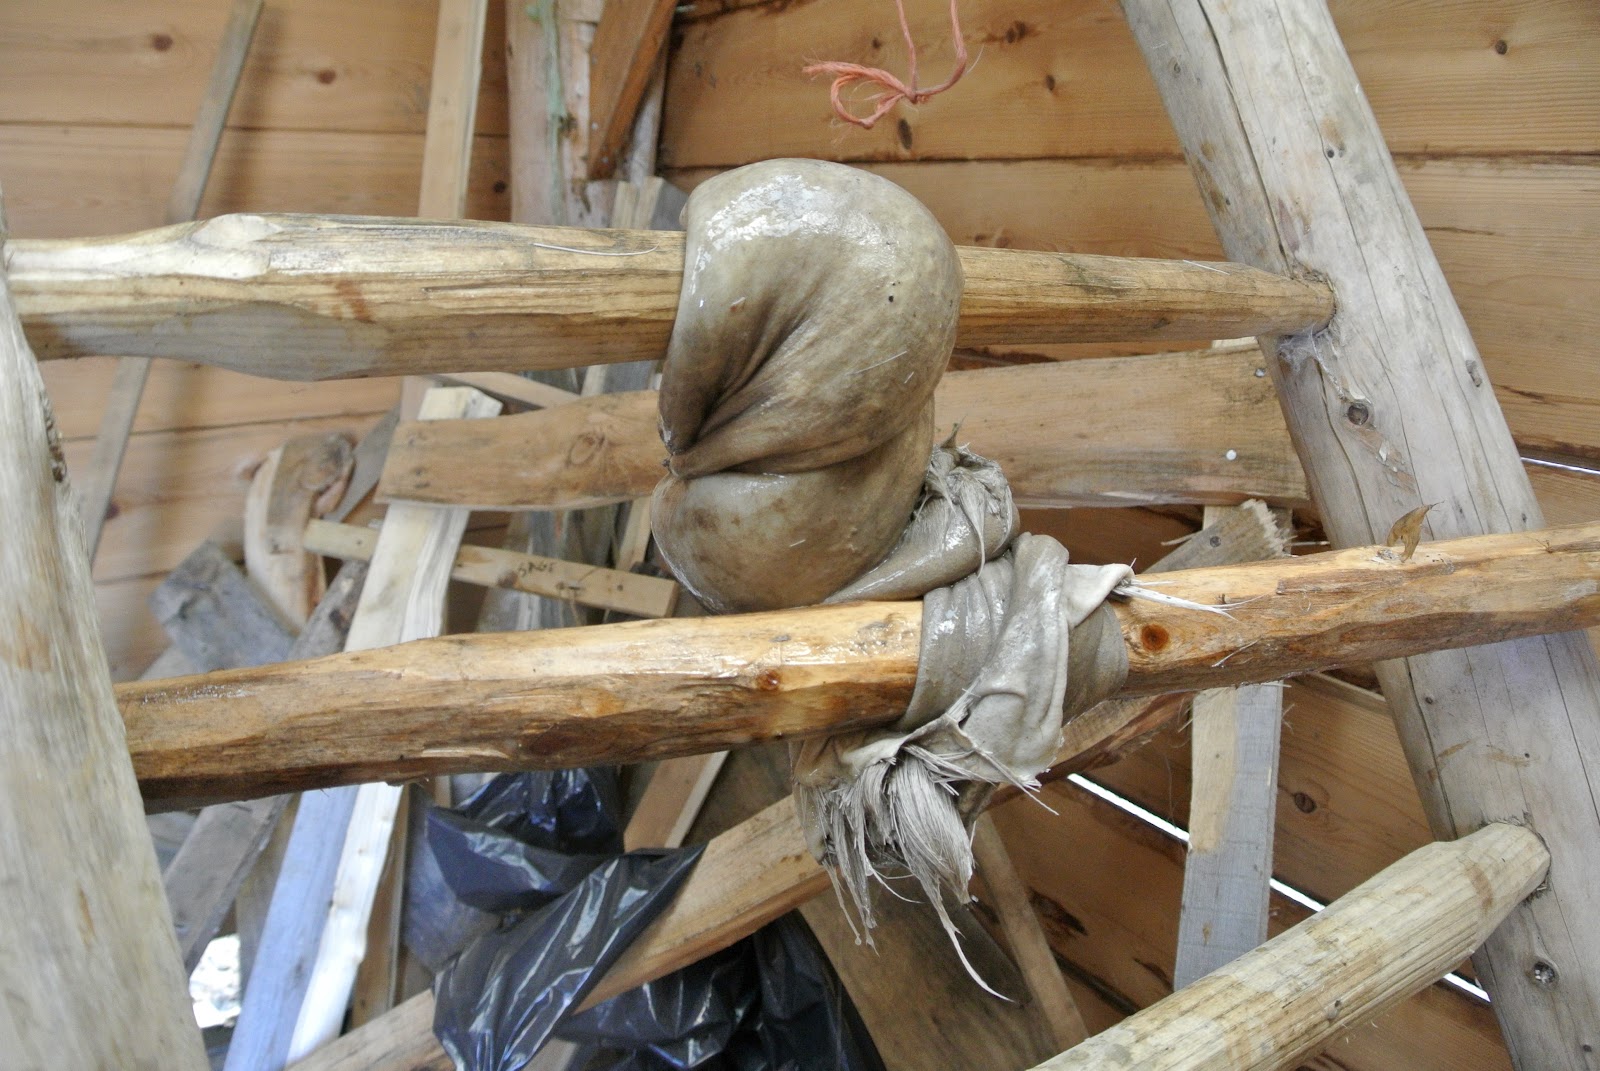
Put a smooth stick, axe handle, etc. through it and begin to twist. Really crank down as much as you can to get all of the moisture out. Hides are strong and will not break even if it seems like you are twisting it extremely hard. Untwist it and do it the other direction. Repeat this several times, rotating the hide as needed. Continue to wring it out until it stops dripping. Take it off the rung and stretch it out a couple of times with a buddy. Do not throw out your brain/egg solution, you may need to use it again later.
- Sew up any holes in hide. At this point, you will need to sew up any holes you have in your hide. You may need an awl to do this if your hide is very thick. I like to use a triangular needle designed for sewing canvas or leather and put a thick piece of leather or plastic on my hand to push it through. Sinew or artificial sinew are the best threads to use to sew up the hole, but any thread will do. Just be sure to sew it up well so that it does not rip open later in the process. It is very annoying and inconvenient when that happens.
- Cut ¼ inch holes all around the edge. Every 2-3 inches, cut a small hole in the hide, ½ inch from the edge. Be very careful not to make these too large as it will make it difficult to stretch the hide without ripping the holes. It is helpful to do this on a stump or board so that your knife does not go too far through. This takes awhile, if you think that your hide is getting too dry (you may see it begin to pucker), give it a quick dunk back into the egg/brain solution to rewet it.
- Tie onto frame. Now that all of your holes are made, lay the hide out on the ground in the middle of your frame. If you do not already have a frame you will need to build one. To do so, cut five strong poles to about 5ft long. Remember that they have to be longer than your hide in every direction so measure accordingly. It can be much larger, but you will just need more rope. Lash them together in a square with smaller sections going diagonally across the corners for support. Tie the hide to the frame tightly. It does not need to be stretching the hide, though, you will be doing that work, not the frame.
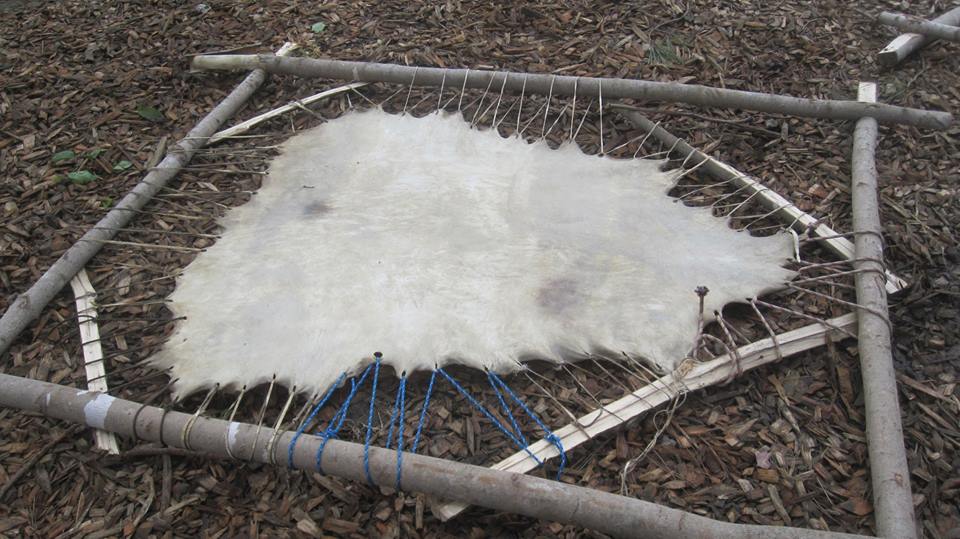
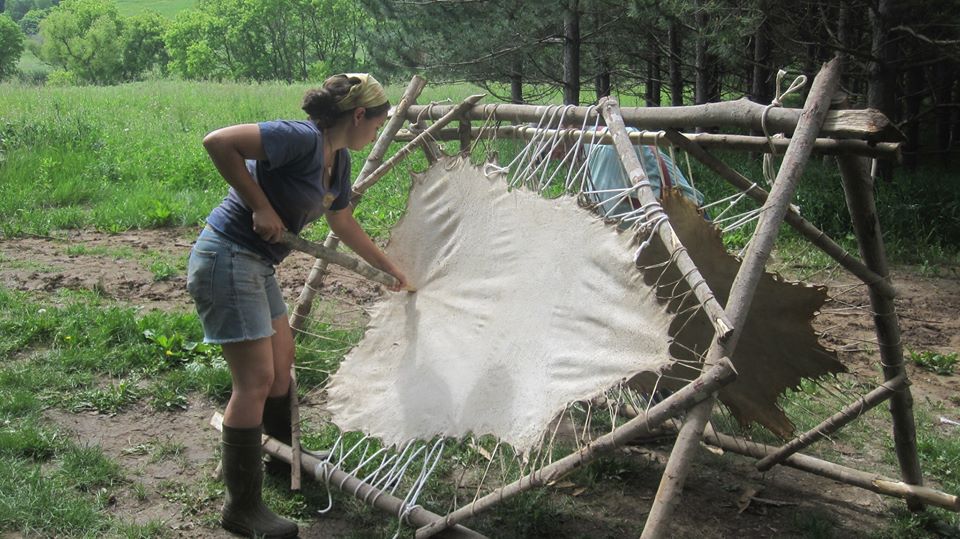
- Stretch until dry. Each individual has their preferred tool for stretching hides. Mine is a 2-3 ft stick with the bark removed and the end rounded and smooth. Press the stick into the hide hard, moving it up and down. Be sure to get all of the edges and over the holes. You can lean your body weight into the hide by pressing your elbows or knees into it as you do this. You’re fighting time now as you need to keep the hide stretched as it dries. If you do not stretch it enough, it will pucker and get hard in places. If your hide is drying too quickly, move it into the shade. You can even mist it with a little water but do so sparingly as you will need to restretch any part that gets too wet. This may take anywhere between one hour and 5-6 hours for a large deer hide, depending on the weather. Be sure to stretch it until it is absolutely bone dry in all places. It may not feel exactly wet in some places but it may feel cool, this is still too wet. Again, any part that is not stretched until completely dry will harden. This is one of the most vital steps of the process to getting a nice, usable hide that is soft and flexible. The edges are almost impossible to get completely. Try your hardest but know that you will end up trimming off an inch or two of the edge with your holes after you take it off the frame. Be very careful not to rip through any of your holes as they could get larger at this point. You may rip through one or several of your holes on the edges, this is okay, just so long as they do not continue to rip into the hide.
- Pumice. Once the hide is stretched and dry, rub a pumice stone over both sides while it is still on the frame. This will make it nice and soft.
- Remove from frame.
- Trim off edges. Cut off the edges so that the holes are removed. These edges can be used to make hide glue later if you so desire.
- Rub over a rope, rung, or wire to soften more. To soften the hide more, toss it over a thick rope or wire and grab a side with each hand. Pull it back and forth hard. Optional. Now your hide is officially tanned and stretched. At this point, do not get it wet in any way whatsoever or you will have to restretch it again. Once it is smoked (that’s the next step) you can get it wet all you want and it will not stiffen up on you.
- Sew or duct tape edges other and sew or duct tape skirt onto bottom. Fold your hide in half hotdog style and either duct tape or sew the edges together tightly (I like to use duct tape, it’s much easier and faster and prevents any smoke from leaking out). Keep the top and bottom open. On the wider side (the rump of the deer) sew or duct tape on a skirt. You can use an actual skirt or a homemade one, just some piece of fabric (jean or canvas is best) that will allow you to keep the smoke from escaping out of the bottom.
- Tape over holes. Duct tape over any holes in the hide so that no smoke escapes. If it does, it will stain the hide a darker color there.
- Dig a 1 ft deep and 1 ft wide hole and start a small fire in it using punky wood. Use wet, rotten wood so that you get as much smoke as possible and less flame. You want a lot of cold smoke, not an open flame that could burn your hide. You can use any type of wood but keep in mind that each one makes the hide a different color. Cedar makes for nice golden hues and oak, one of my favorites, makes a classic orangish-tan.
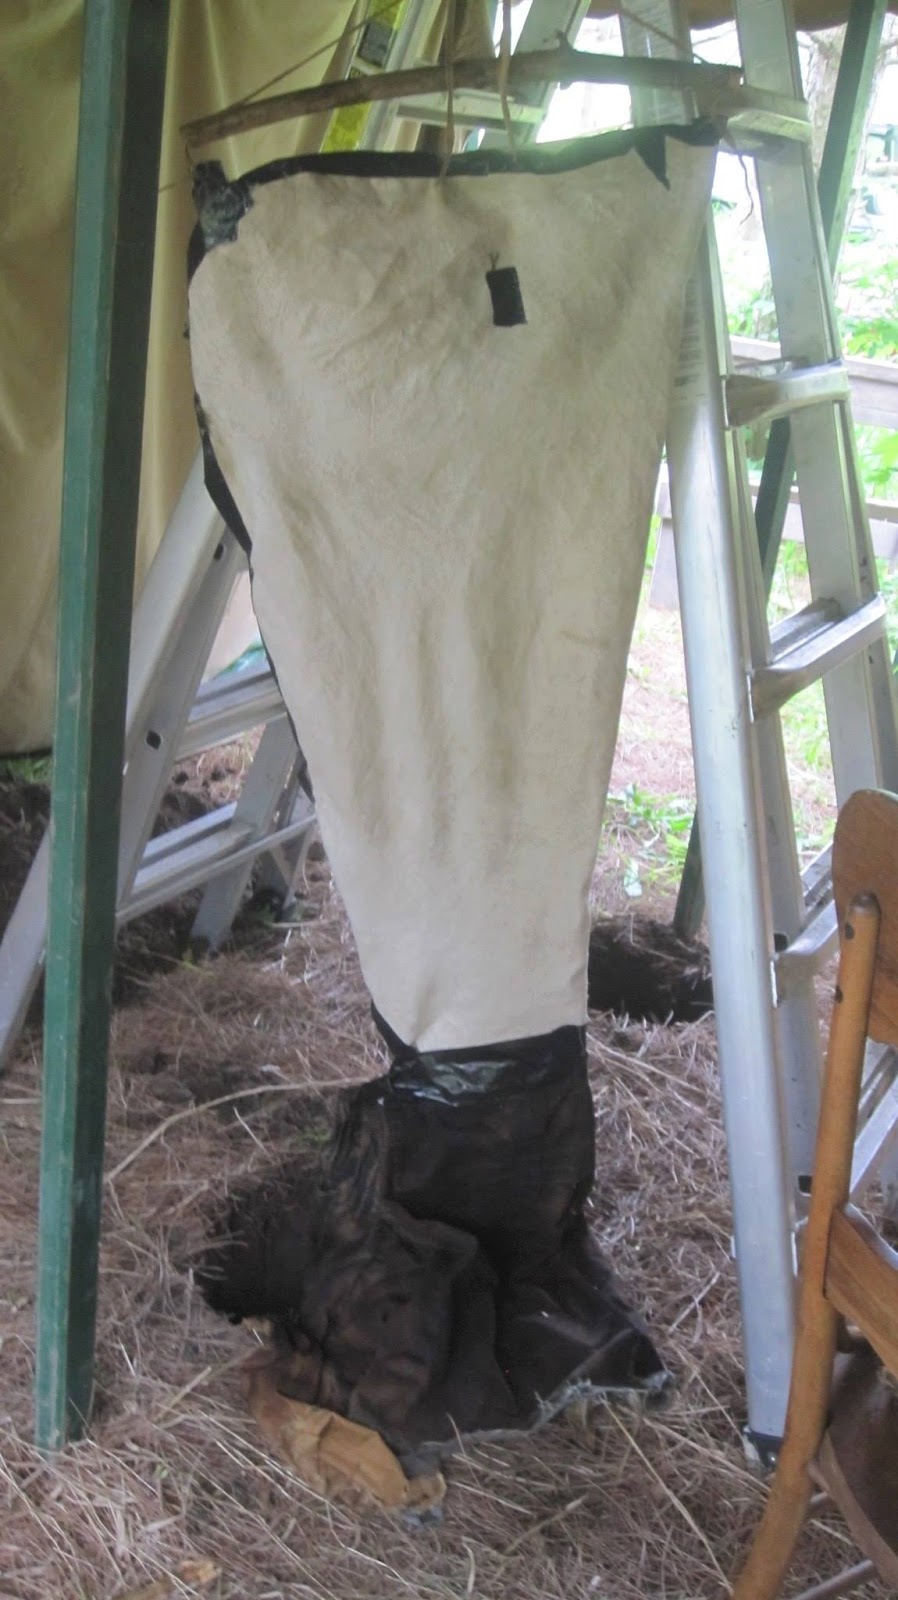
- Hang your hide over the fire and place sticks inside to keep open.
- Weigh down bottom and smoke for several hours until desired color is achieved.
- Smoke the other side for several hours until desired color is achieved.
Looking for more resources?
Disclaimer: This blog is just my own opinion, nothing more. While I try my hardest, everything may not be completely accurate or complete. Sorry, I'm only human, so do not hold me accountable for anything you do to harm yourself or the world around you. I do make money from this blog (seriously not very much at all guys). If you click on any of the links in my blog I may make money from it, at no extra cost to you. I'm not sponsored by any of these people I just honestly love these products and want to give you the resources to find them. I am not a medical practitioner; consult a health professional before using any herbal remedies. I am not claiming to diagnose, treat, prevent, or cure any ailment.